Unpacking Christmas Decorations Without Losing Your Mind
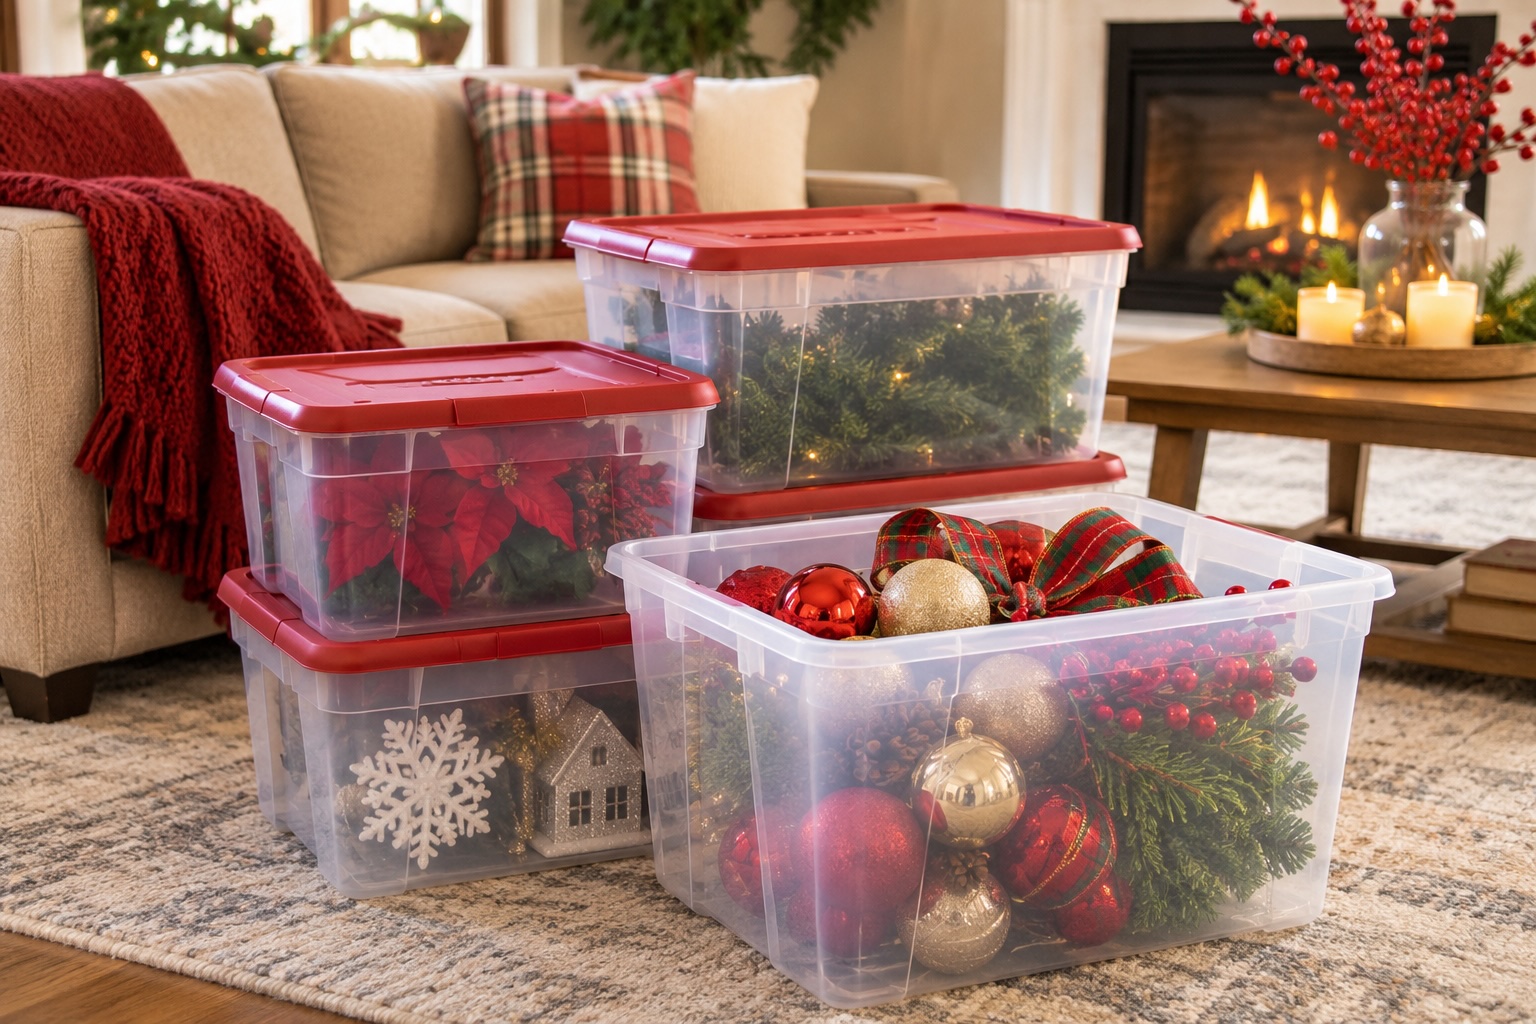
It starts so innocently. "Let's just bring the boxes down and do a little decorating."
Twelve hours later, every bin in the house is open, the living room floor is a sea of tissue paper, the dog is wearing tinsel, and you're standing on a chair untangling the same strand of lights for the third time while someone asks what's for dinner.
There's a better way. You don't need to decorate the whole house in one marathon weekend. You need a plan, a staging zone, and permission to stop. Here's how to unpack the Christmas decorations in a few easy evenings, in the right order, without losing your mind or your Saturday.
The Big Idea: Evenings, Not a Weekend
Decorating in one giant push is how bins end up half-unpacked in the hallway until New Year's. Break it into one-hour sessions instead, one area at a time. Each evening ends with that area finished and the empty bins put away.
No half-decorated rooms, no mess spreading through the house, no exhausted, tinsel-covered meltdowns.
Your Decorating Schedule
SessionEvening 1 Evening 2 Evening 3 Evening 4 Evening 5 A dry weekend morning |
MissionBring the bins down, set up the staging zone, and clear the surfaces. Test the lights, set up the tree, and get the lights on it. Ornaments, with the whole family. The mantel and the living room. The entry, the dining room and the kitchen. Outdoor lights and the front door, in daylight. |
Short on evenings? Combine sessions. Just do them in this order.
Evening 1: Set the Stage
Bring Down Only What You'll Use
Before you haul up every bin, decide what kind of Christmas you're having this year. Hosting a crowd? Go all out. Traveling for the holidays? Maybe just the tree and the wreath. Leaving a bin in the attic is allowed. Nobody is checking.
Set Up a Staging Zone
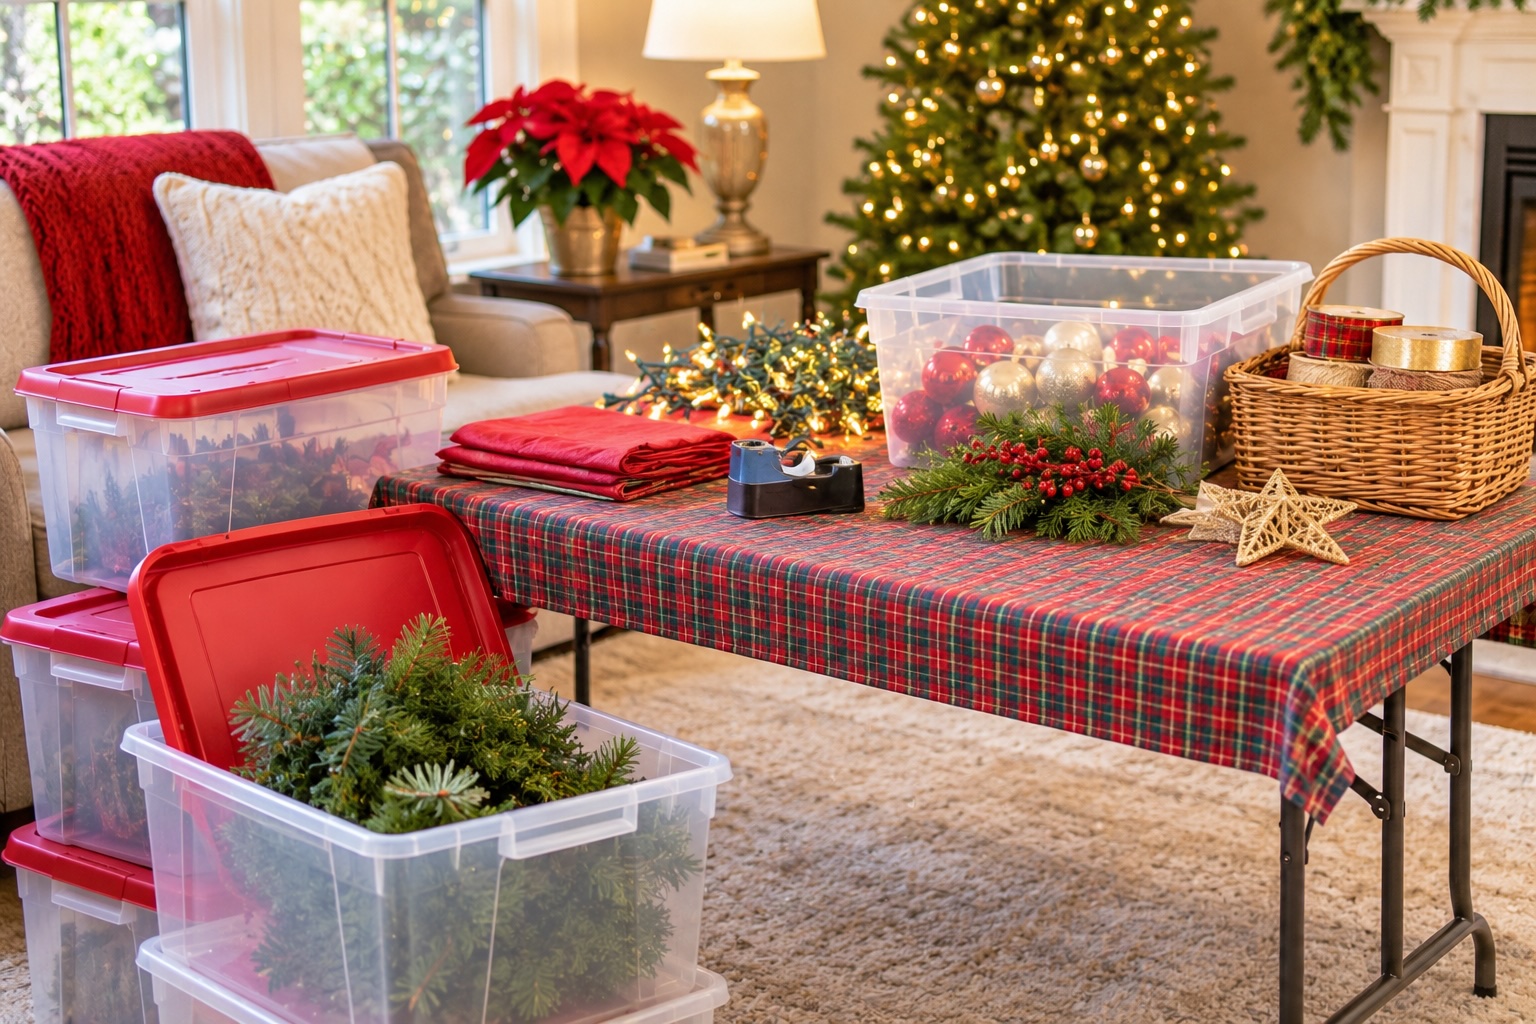
Pick one spot, like a wall in the dining room, a folding table or the guest room floor, and line up the bins there with the labels facing out. That way, the mess stays in one corner instead of migrating across every room in the house. Keep a trash bag, a donate box, scissors, tape, extra hooks and batteries right there with the bins.
Clear the Surfaces First
Here's the step everyone skips, and it's the one that makes the house look decorated instead of cluttered. Before you put out a single Santa, clear the mantel, the entry table, the sideboard and the spot where the tree goes. Pack the everyday decor into each bin as you empty it. In January, you'll just swap them back.
Then dust. Wipe down the mantel, shelves and tables while they're bare. You won't get another shot at them until January.
Bins overflowing with stuff you never use? Sort them as you unpack: Donate Before You Decorate has the full plan.
Evening 2: Lights and the Tree
Test Every Strand Before It Goes Up
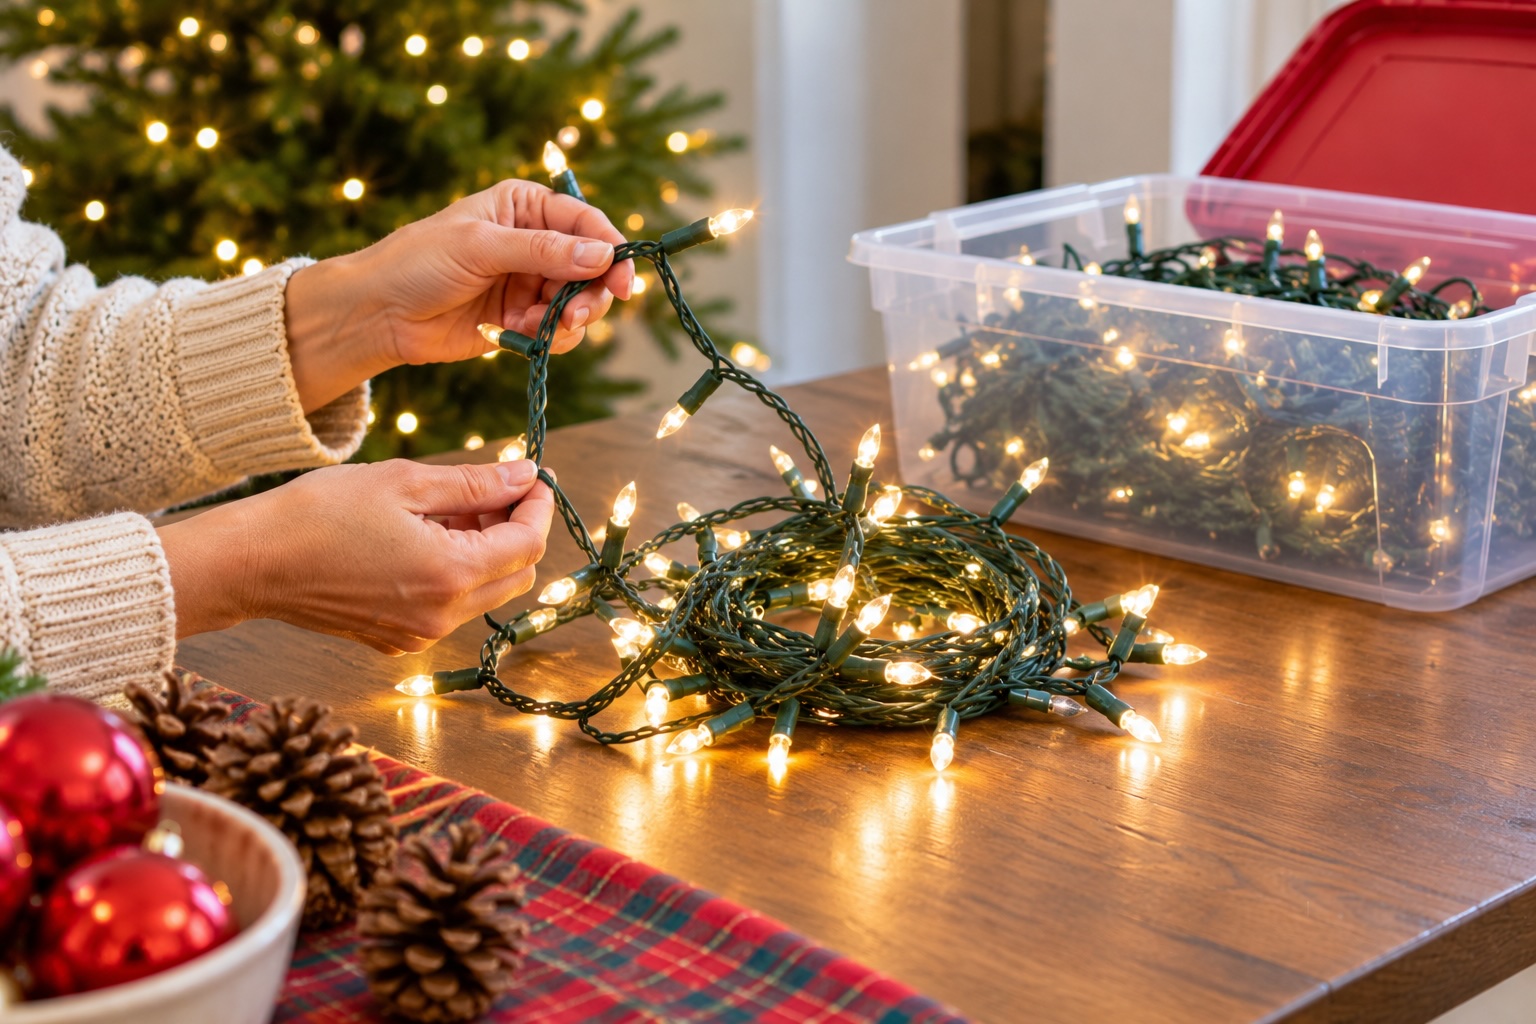
Plug in each strand on the floor before you hang it. Discovering that the middle section is dark after you've wound it around the whole tree is a special kind of December despair. Toss strands with frayed wires, cracked sockets or loose connections. Swap out dead bulbs with the spares that came in the box.
The Tree Comes First
Everything else in the living room revolves around the tree, so set it up before anything else.
- Set the tree up and let the branches settle for a few hours. An artificial tree needs its branches fluffed. A real tree needs water right away. Here's how to keep it fresh: Christmas tree care tips.
- Keep it at least 3 feet from the fireplace, heat vents, radiators and candles.
- Lights go on first, before a single ornament. Work from the trunk out along each branch, from the bottom up.
- Garland or ribbon goes on next, then stop for the night.
Light Safety
- Check that the lights carry a safety certification mark, like UL or ETL.
- Use only lights and cords rated for outdoor use outside.
- Don't connect more strands end to end than the box allows. It's printed right on the package.
- Turn the lights off when you leave the house or go to bed. A timer does it for you.
Evening 3: Ornaments With the Family
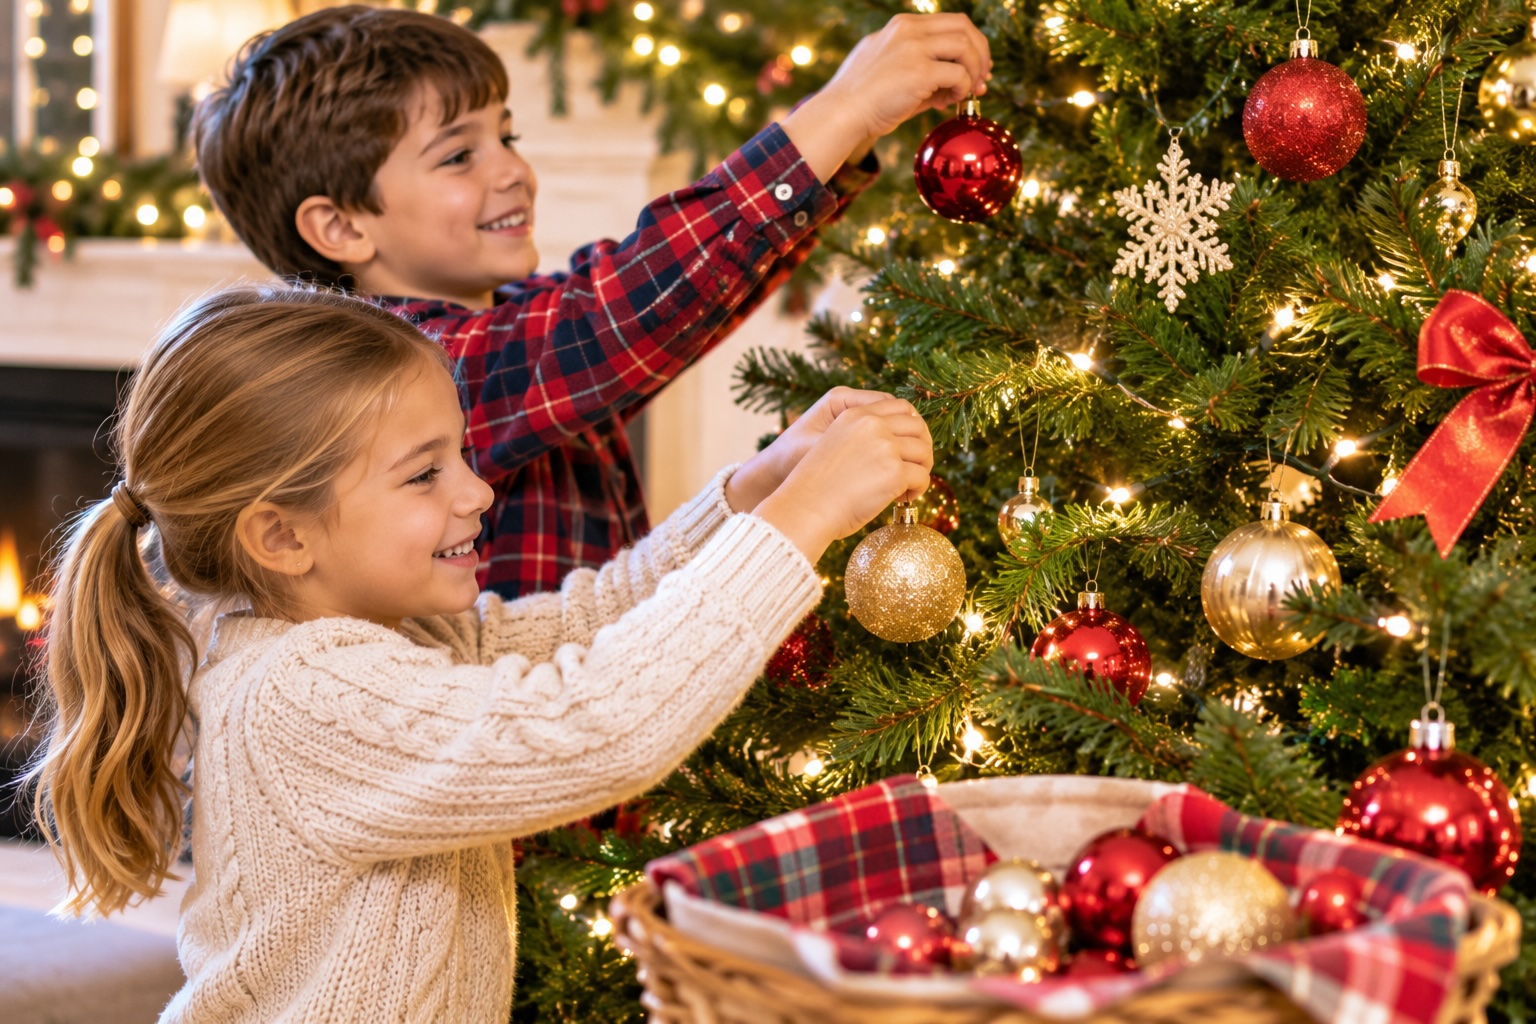
This is the fun part, so make it an event. Put on the Christmas music, make hot chocolate, and let everybody hang their favorites.
- Put the breakables up high and the unbreakable down low, where the toddlers, the dog and the cat will be investigating.
- Hang the big ornaments first, spaced evenly, then fill in with the small ones.
- Hang ornaments deep in the branches, too, not just on the tips. It makes the tree look full.
- Let the kids' ornaments cluster. They'll put eight on one branch. Let them. Move a few later, quietly, after bedtime.
- Put the empty ornament boxes back in their bin right away, so they don't get crushed or tossed.
Topper last. Then step back and admire it. You're done for the night.
Evening 4: The Mantel and the Living Room
Start with the mantel, because it's the focal point of the room. Hang the garland first, then the stockings, then the smaller pieces. Use stocking holders or hooks made for your mantel. Nails in the woodwork are forever.
For the rest of the room, a little restraint goes a long way. Group small decorations together in odd numbers instead of scattering them over every surface. Three Santas on a tray look intentional. Fifteen Santas spread across the room look like a Santa convention. Need inspiration? See these elegant Christmas decorating ideas.
Using real greenery? Here's how to keep Christmas garland fresh all season.
Evening 5: The Entry, Dining Room and Kitchen
- The entry: A wreath on the door, something festive on the entry table, and a holiday doormat. Keep the walkway clear of cords and anything guests could trip over.
- The dining room: A centerpiece low enough that people can see each other across the table.
- The kitchen: Keep it light. You need the counters for cookies. Holiday dish towels and one festive jar of candy canes will do the trick.
A Dry Weekend Morning: Outside
Do the outdoor lights in daylight, on a dry day, with a helper. Ladders and dark, icy evenings don't mix.
- Have someone hold the ladder, and keep three points of contact on it at all times.
- Use plastic light clips on the gutters and shingles. Staples and nails damage the house and can nick the wires.
- Plug outdoor lights into a GFCI outlet.
- Put the outdoor lights on a timer, so you're not standing in the snow in your slippers at midnight.
More safety checks for when company comes: holiday safety tips for entertaining.
Get Everyone Involved
You are not the Christmas elf. Hand out jobs so you're not doing it all:
- Little kids: Hang the unbreakable ornaments, set out the stuffed snowmen, and arrange the Nativity figures.
- Older kids: Test the lights, haul the bins and hang the stockings.
- Teens and grown-ups: The ladder jobs, the outdoor lights and the tree stand.
Turn it into a game with the Christmas chore tree from these 20 new Christmas traditions.
Leave Yourself a Note for Next Year
Here's the secret that makes next year's unpacking twice as fast. As you decorate, keep a running list on your phone, or on an index card taped inside a bin lid:
- What you needed but couldn't find (extra hooks, the tree skirt, the outdoor extension cord).
- What you didn't use at all.
- What you need to replace or buy on sale after Christmas.
- Which bin held what, if the labels were a mystery.
Then, in January, pack it all up the smart way so next year starts easy. Here's how to organize and store your Christmas decorations.
Know When to Stop
f you've been decorating for an hour and you're starting to hate the snow globes, stop. Put the lids back on the bins you haven't started, and finish another night. Or don't. Christmas will still come, whether or not the third reindeer makes it out of the box.
Unpacking Christmas Decorations: Quick Answers
Where should I start decorating for Christmas?
Start by clearing the surfaces you'll decorate and setting up the tree. Put the lights on the tree first, then ornaments, then move on to the mantel, the living room and the rest of the house.
How do I decorate for Christmas without making a mess?
Set up a staging zone for the bins, decorate one area per session, and put the empty bins away as soon as each area is done.
How long should it take to decorate for Christmas?
Plan on four or five one-hour sessions for a typical house, plus a morning for the outdoor lights. Spreading it out keeps it fun instead of exhausting.
Should you put lights or ornaments on the tree first?
Lights first, then garland or ribbon, then ornaments, and the topper last.
Keep Going
Make this the merriest, least frazzled Christmas yet with these related guides:
- Christmas Organizing Ideas: Gifts, wrapping and decorations, sorted.
- Donate Before You Decorate: Clear out before the holiday boxes come down.
- Christmas Tree Care Tips: Keep a real tree fresh longer.
- How to Keep Christmas Garland Fresh: Mantel, stairs and front door.
- Elegant Christmas Decorating Ideas: Make the house look magical without the stress.
- Christmas Card Display Ideas: 20 easy ways to show off your cards.
- Christmas Plant Care: Keep the poinsettia alive past New Year's.
- Holiday Safety Tips for Entertaining: 20 things to check before company comes.
Free 15-Minute Daily Reset Checklist
Get Notes on Keeping House
Fifteen minutes a day. No weekend cleaning marathons. No guilt. Sign up for my newsletter and I'll send you the printable checklist that makes it happen.
Send My ChecklistNo spam, ever. Unsubscribe anytime.
Free Printable
Notes on Keeping House
Sign up and get my 15-Minute Daily Reset Checklist. One timer, five zones, and a house that stays under control.
Send My ChecklistNo spam, ever. Just smart, funny tips for keeping house from Tara Aronson.